Editing a Scenario
It is also possible to change the Based Upon scenario, at the head of the scenario's column.
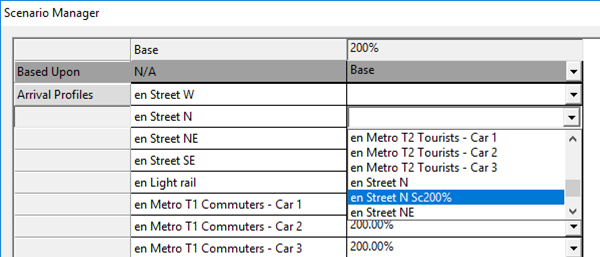
As discussed, there are different ways of modifying Profiles, Types and Populations. To modify a Profile, Type or Population from a specific scenario, click the drop-down adjacent to its field and select an available value, based on the information below.
No changeEach Profile, Type and/or Population can reuse the same Profile, Type and/or Population as the Based Upon scenario. So, select the blank area from the drop-down list.
Direct changesIt is possible to change a Profile or Type to one previously imported from the LEGION Data Template. Simply select that Profile or Type from the drop-down list.
It is possible to edit a Population directly by selecting the [Edit] field from the drop-down list, which lets you type the value of the new Population.

Relationship changes
For Arrival and Event Profiles and Populations, a relationship can be specified between the Based Upon and dependent scenarios. Select the [Relation] field from the drop-down list.
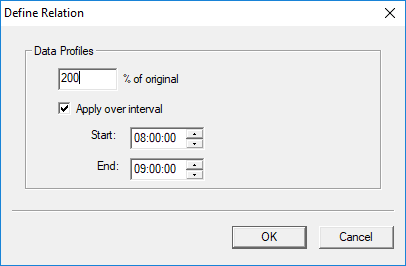
The Define Relation dialog appears:
- Enter a percentage value in the % of original box (this will change all original Data Profile data by the percentage applied - 50% will halve all values, 200% will double all values, etc.). and potentially (though not for Populations)
-
2. Check the
Apply over interval box and enter
Start and
End times to specify a time range within which
you would like changes to be applied.
For example, to create a scenario with 200% of an original Arrival Profile for the time interval from 08:20 to 08:40, the settings would be as follows.
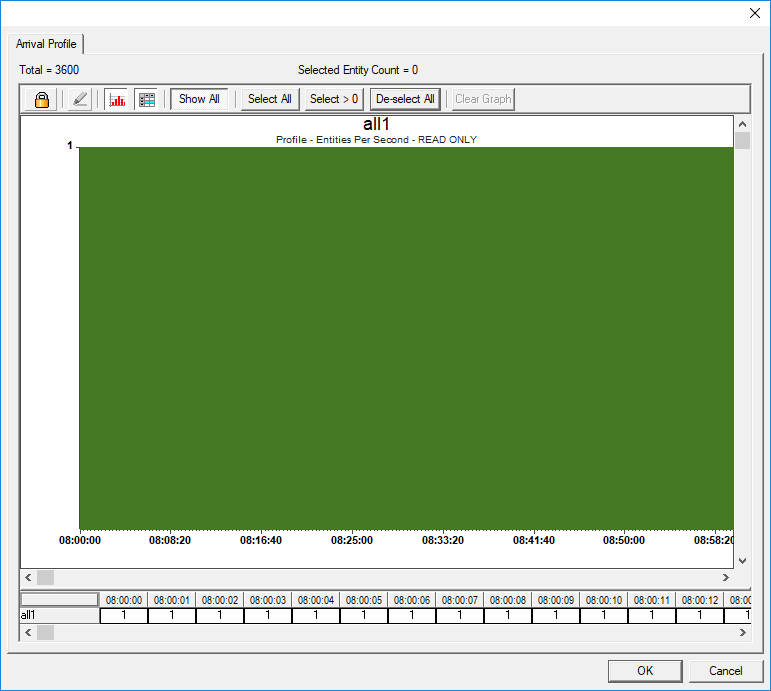
This would produce the following Arrival Profile.
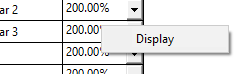
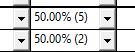
Tip: You can preview Arrival and Event Profiles, and Populated and Evacuation Zones' initial populations, by using the context menu Display option. Right-clicking opens the Display option. Left-clicking then shows the initial populations of Populated and Evacuation Zones, in brackets.Alternatively, for Arrival and Event Profiles, left-clicking shows the profile itself, which might be hard to picture after complex changes, without this feature.